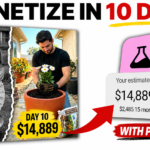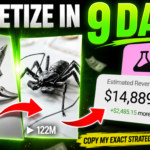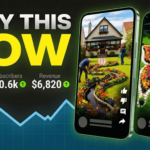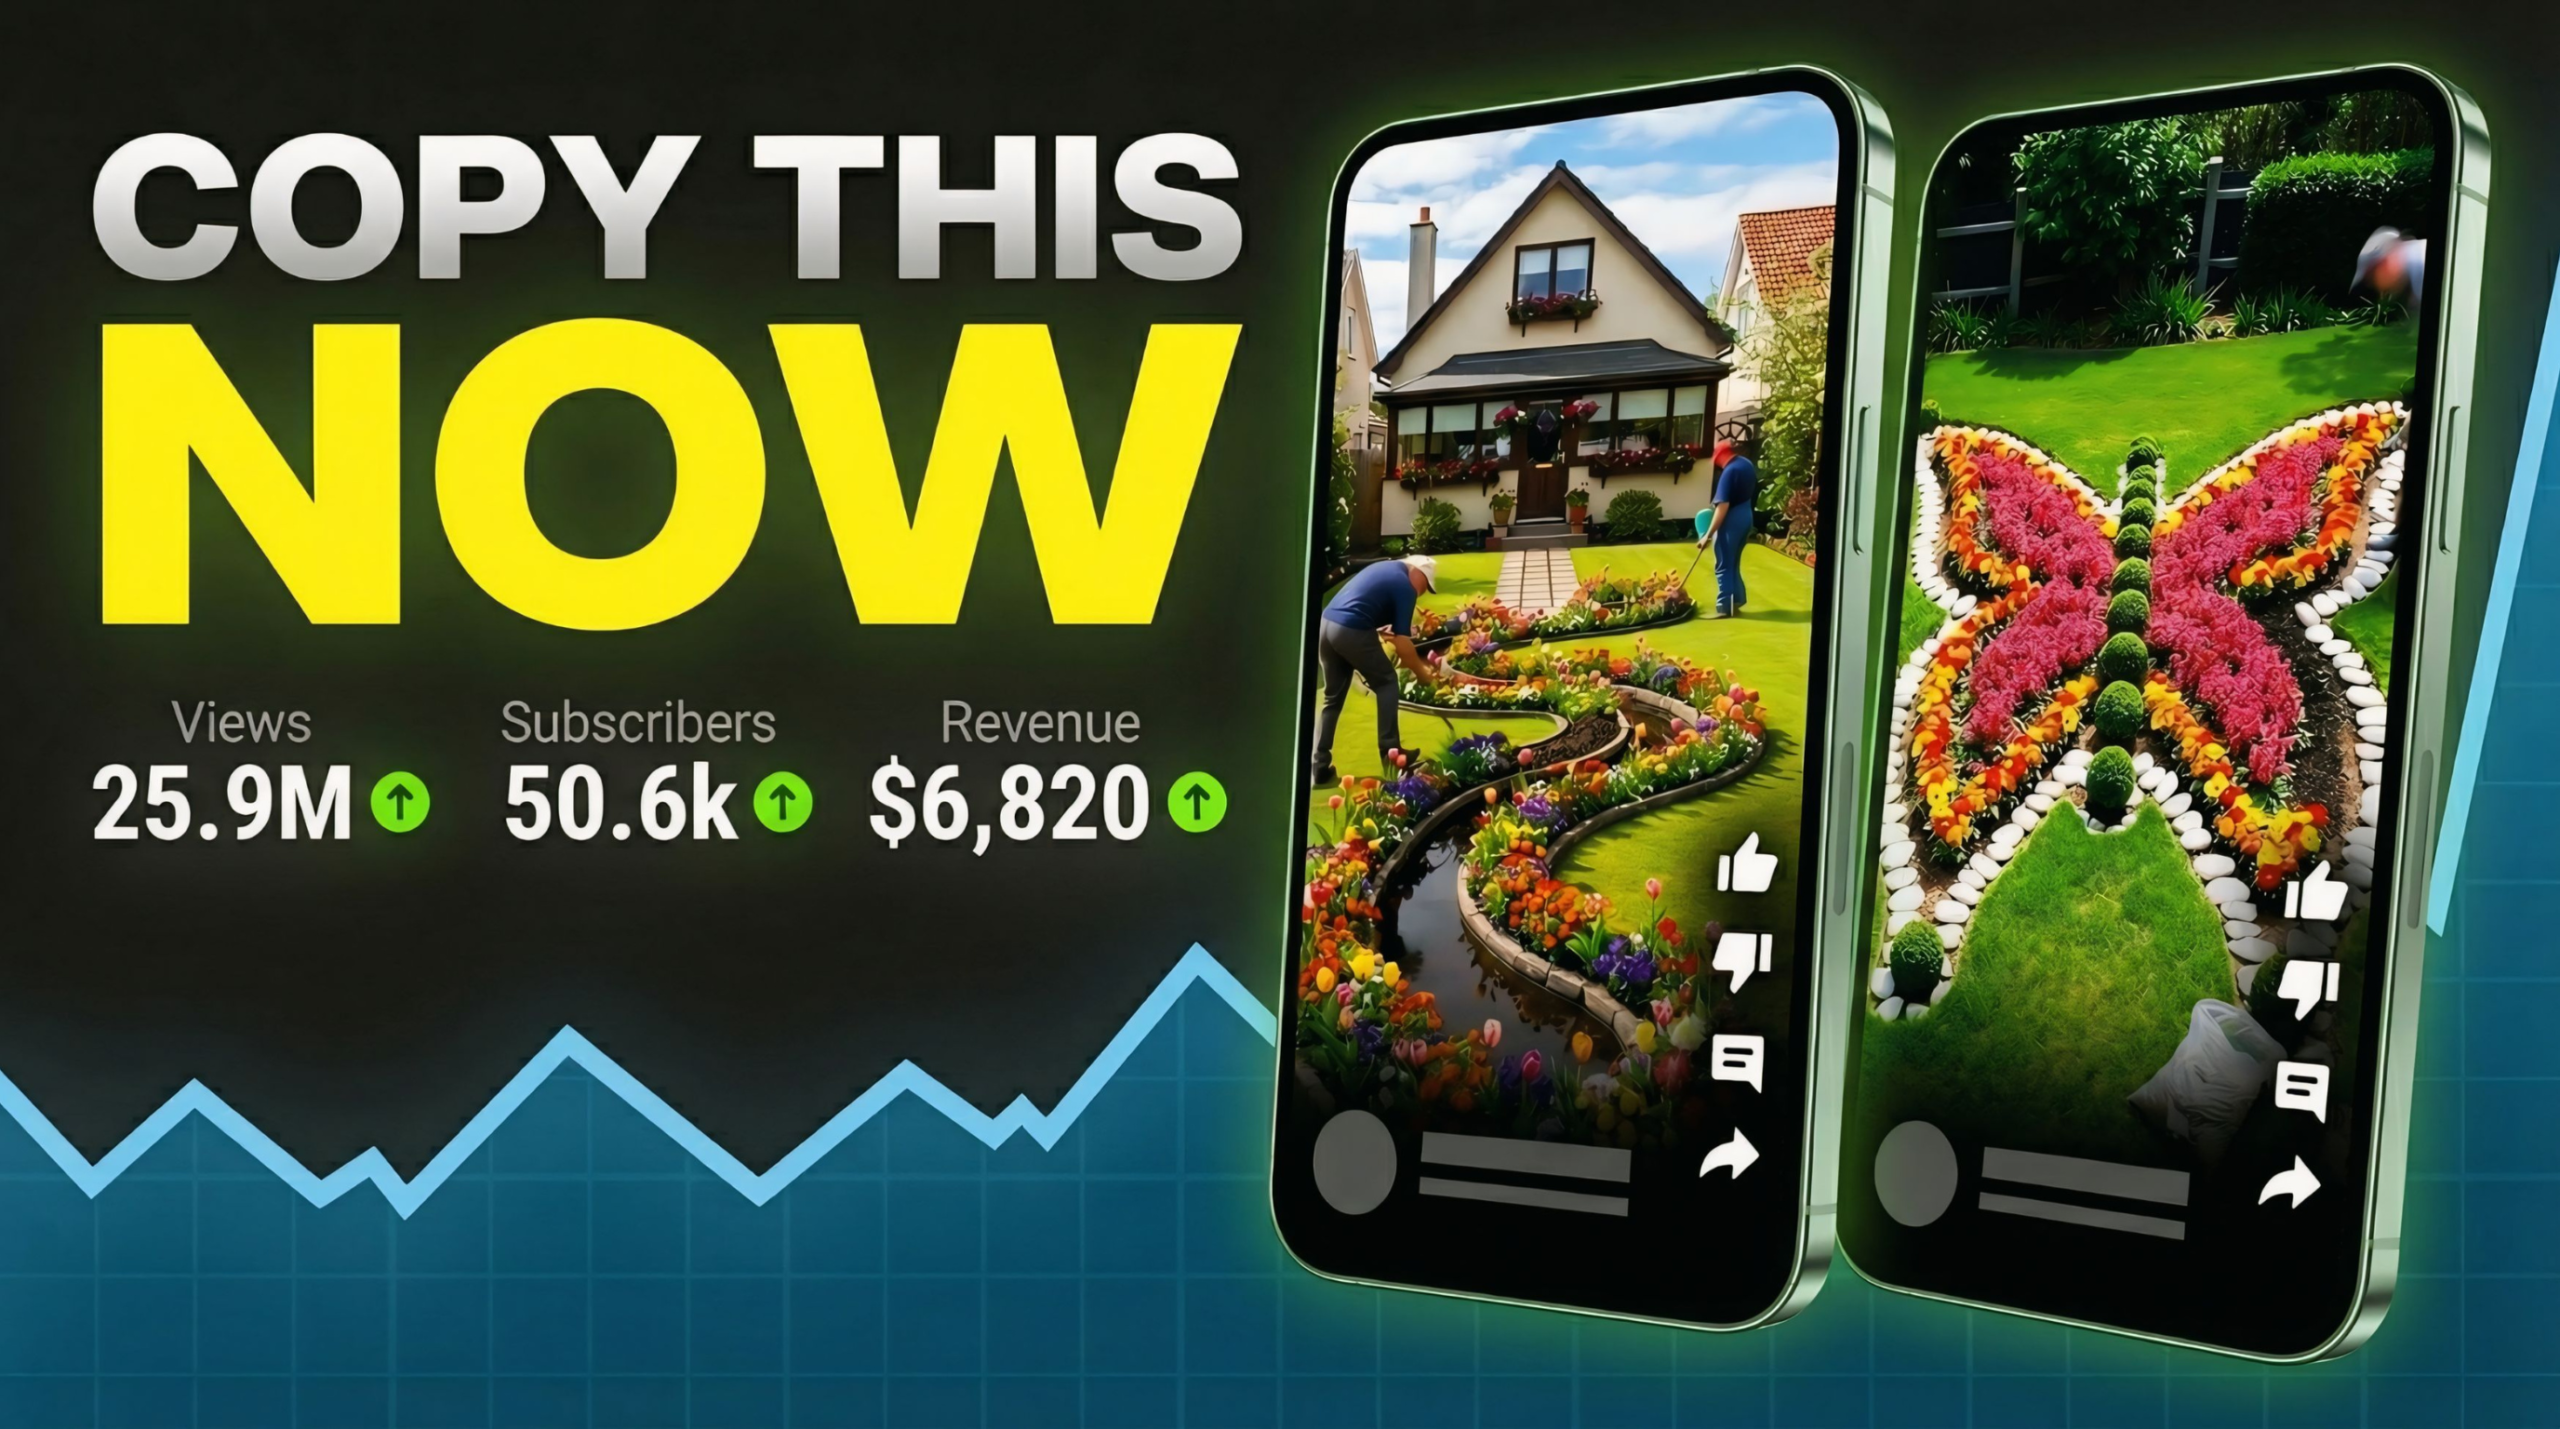
Every single day, a specific type of video is getting millions and millions of views… and almost nobody realizes how easy it is to copy.
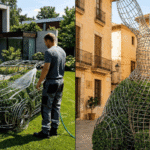
We’re talking about simple garden transformation videos. Just a basic “before and after” — and suddenly, boom… millions of views.
But here’s where it gets interesting.
Small channels with barely 50,000 subscribers are pulling in 25 million views. Other videos are hitting 7 million, 3 million, even 2 million views consistently. And the craziest part? These videos are not high production.
No expensive cameras.
No advanced editing skills.
No big budget.
So what’s really going on?
Once you understand what’s happening behind these videos, you’ll realize something important: this isn’t creativity — it’s a repeatable formula.
And in this guide, I’m going to break down that exact formula and show you how to create these viral videos step by step using completely free AI tools.
Step 1: Generate Viral Video Ideas
The first step is coming up with the right idea — because not all content goes viral.
To do this, you’ll use a structured prompt. Simply copy the first prompt provided and paste it into ChatGPT.

Once you click generate, you’ll instantly get multiple viral topic ideas. Usually, you’ll see around 10 ideas that are already optimized for engagement and views.
This removes guesswork completely. Instead of wondering what might work, you’re starting with proven concepts.
Pick one strong idea from this list — this will be the foundation of your video.
Step 2: Turn Your Idea Into a Script
Now that you have your topic, the next step is to build a structured video flow.
Copy the second prompt and paste it into ChatGPT again. Inside the prompt, you’ll see a section labeled “Insert Your Topic.”
Replace that with your selected idea and click generate.
Within seconds, you’ll get a complete script broken down into 10 to 12 scenes. This is extremely important because these scenes will guide your entire video creation process.
Think of this as your blueprint.
Step 3: Generate Image Prompts
Now it’s time to bring your script to life visually.
Copy the third prompt and paste it into ChatGPT. Then insert your previously generated scenes into the prompt.
Once you click generate, ChatGPT will create detailed image prompts for each scene.
These prompts are designed to generate high-quality visuals that show a clear transformation from start to finish.
Step 4: Create Images Using Free AI
To generate images, you’ll use a free tool called Pippit AI.
Sign up and log in — you’ll receive free credits to start.
Now follow these steps:
- Select the image generation option
- Paste your first image prompt
- Choose a model
- Set the ratio to 9:16 (important for Shorts)
- Click generate
Once your image is ready, click “Add to Chat” so it becomes a reference for the next image. This ensures visual consistency across your entire video.
Repeat this process for all your prompts, always using the previous image as a reference.
By the end, you’ll have a full sequence of transformation images.
Step 5: Download Your Images
After generating all images, open each one and download it without a watermark.
Make sure to keep them in order — this is crucial for the next step.
Step 6: Convert Images Into Videos
Now we turn static images into dynamic clips.
First, go back to ChatGPT and use the final prompt to generate video prompts based on your scenes.
Then move to Flow AI.
Here’s what to do:
- Create a new project
- Set video mode
- Choose 9:16 ratio
- Upload your first image
- Paste the corresponding video prompt
- Click generate
Your image will now be converted into a video clip.
Repeat this for all images until you have all your video clips ready.
Step 7: Download Video Clips
Once all clips are generated, download them one by one and keep them in sequence.
Step 8: Edit Your Final Video
For editing, use CapCut.
Steps:
- Import all video clips
- Arrange them on the timeline
- Adjust speed to create a time-lapse effect
- Add transitions and effects
- Preview the full video
If there’s a watermark, slightly zoom in to hide it.
Once everything looks good, export your final video.
Why This Works
This strategy works because it follows a proven content pattern:
- Clear transformation (before → after)
- Fast pacing (high retention)
- Simple visuals (easy to consume)
You’re not relying on creativity alone — you’re using a system that already works.
Final Thoughts
The biggest mistake most people make is overcomplicating content creation.
But as you’ve seen, viral videos don’t always require expensive tools or advanced skills. With the right process and free AI tools, anyone can create high-performing content.
The key is consistency and attention to detail.
Miss one step, and your results can drop.
Follow the process exactly, and you’ll have a strong chance of creating videos that reach thousands — or even millions — of viewers.