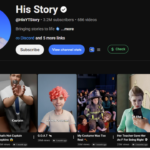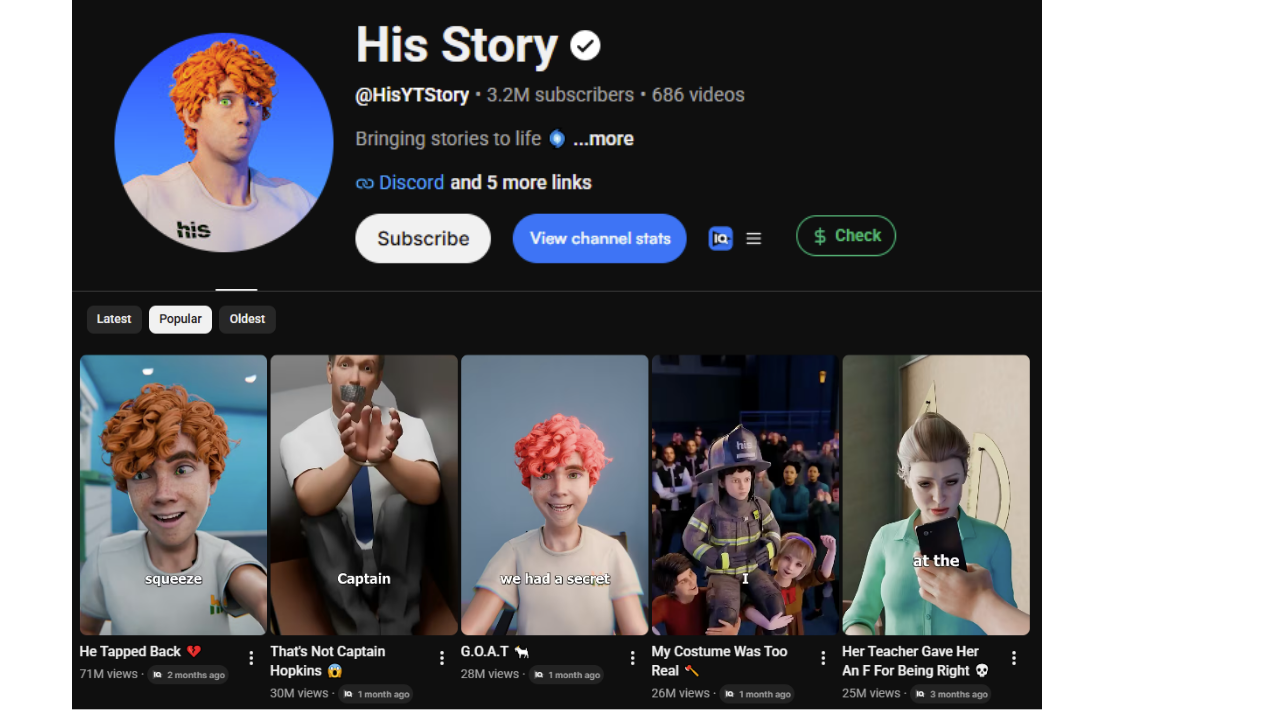
You’ve probably scrolled past a channel called His Story a hundred times. Right now it’s sitting at around 3.2 million subscribers, with one single Short at 71 million views. Seventy-one million. The one right under it? 30 million. Then 26, 25, 24… video after video after video, every one pulling millions.
Here’s the part that messes with your head: there’s no camera, no actor, no studio. Every one of these is a 3D animated story made completely with AI.
And it’s not a fluke. There’s a second channel, Her Story, at around 1.4 million subs, running the exact same playbook and getting the exact same results. I went digging through this whole niche and could only find a couple of channels actually doing it — which means it’s wide open right now.
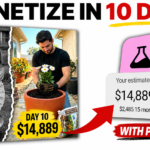
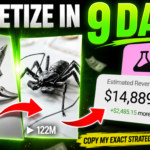
At the scale these are pulling, even on conservative Shorts payout estimates, this turns into real money landing every month. In this post I’ll show you how to build one of these videos start to finish — mostly with a single AI tool. No editing degree, no expensive software, no team.
But miss one step and your video stalls at a few hundred views, so read to the end — the step most people skip is the one that actually makes these blow up.
🔗 Step 0: Grab the prompt system (your whole engine)
Before you touch any video tool, you need the system. I’ve already done the heavy lifting: a complete prompt system of four prompts that run this entire workflow end to end.
👉 Get the free prompts here:

Open the link and the master prompt doc loads in Google Docs. Four prompts, sitting there ready to copy. That’s your whole engine in one place.
The tools you’ll use:
- Claude AI – ideas, script, hooks, character sheets, scene prompts, and motion prompts
- Higgsfield AI – character images, scene images, and final animation (all in one place)
- CapCut – final editing
Let’s build.
Step 1: Generate 10 proven viral story ideas
Grab the first prompt — it’s built for one job: generating video ideas. Copy it, head to Claude AI, paste it in, and hit enter.
Claude doesn’t throw random topics at you. It hands you ten viral story ideas — the kind already proven to pull millions on channels like the ones above. No guesses, no filler.
Pick whichever one grabs you. (For my video, idea #7 was the standout, so that’s the one I copied.)
Step 2: Turn your idea into hooks + a full script
Jump back to the Google Doc and copy the second prompt, top to bottom. Go back to Claude and paste it in — but don’t hit enter yet.
Here’s the move: take your winning idea and paste it at the bottom of the prompt, so Claude has the system and your exact topic in one shot. Now generate.
Before it even writes the script, Claude gives you three viral hooks — three different ways to open the video so people stop scrolling. Drop one at the very start. Then it rolls straight into the full voiceover script, every line, start to finish.
Just like that, the hardest part — the idea and the script — is done.
Step 3: Build your character sheet + scene prompts
Back to the Google Doc and copy prompt number three. Stay in the same Claude chat where you generated the script — don’t open a new one, this matters — and paste prompt three in. Then grab the full script from Step 2 and drop it into the box inside the prompt.
Claude gives you two things:
- A breakdown of exactly which characters are in your story (mine had four), plus a full character sheet.
- The image prompts for every scene.
Now you’re not guessing what anything looks like — you’ve got a blueprint for the entire video.
Step 4: Generate your character sheets (Higgsfield AI)
From here on, the main tool is Higgsfield AI — characters, images, and final animation, all in one place.
Worth knowing: Higgsfield has been running an unlimited Seedance window — one of the best AI video models out there, with consistent characters across every cut, which is everything for story videos. These promo windows are time-limited and change often, so check Higgsfield’s current offer before you sign up.
To build your characters:
- Copy your first character-sheet prompt from Claude.
- In Higgsfield, click Image → Create Image.
- Paste the prompt, set the aspect ratio to 16:9, pick an image model (I used GPT Image 2), set number of images to 2 for options, and hit Generate.
- Repeat for each character sheet prompt (I had four).
For each pair of images, pick the stronger one and download it. Go through them all until every character is saved on your device. This is the library that keeps your characters looking identical in every scene.
Step 5: Generate your scene images (with locked characters)
Here’s the trick that makes consistency actually work. In Higgsfield, click the plus icon in the prompt box and upload all the character sheets you just downloaded — every single one. That tells Higgsfield exactly who your characters are so they stay locked across every scene.
Then:
- Back in Claude, find the scene image prompts under your character sheets. Copy image prompt #1.
- In Higgsfield, make sure your character sheets have finished uploading first.
- Set the aspect ratio to 9:16 (vertical short), paste the prompt, pick your model, set your number of images, and Generate.
Your scene comes out with the exact same character — same face, same look, perfectly consistent.
Then rinse and repeat: copy image prompt #2, paste it into Higgsfield, keep those character sheets in the box the whole time (never remove them), generate. Next prompt, next scene, generate — until every image for the whole video is done.
Step 6: Animate your images into video (Seedance)
Time to make them move. Download all your generated images, one by one.
Then in Higgsfield, hover over Video → Create Video. Click Upload → Upload Media, grab your first image and upload it. Scroll down and pick your model — Seedance (the unlimited one, if that window is active).
Before you generate, you need the motion prompts. Back to the Google Doc and copy the fourth and final prompt. Paste it into Claude, drop in the image outputs you generated, and hit generate. Claude writes you a custom video prompt for every single image — the exact camera move and motion, scene by scene.
Now the loop:
- Copy the first video prompt and paste it under your first image in Higgsfield.
- Set your duration (Claude tells you how long each clip should run — like 6 or 7 seconds; match it exactly) and keep the aspect ratio at 9:16. Generate.
- Clear the prompt box, clear the uploaded image, then Upload Media → load your next image.
- Copy the next video prompt, paste, set duration, generate.
Repeat down the line until every image is a living, moving clip. When Seedance finishes them all, download every clip, one by one.
Step 7: Add the voiceover
Back in Higgsfield, hover over Audio → Generate Voiceover. Pop over to Claude, copy the script you generated back in Step 2, and paste it in.
Click Voices, browse the AI voices, choose the one that fits your story, paste your script, and hit generate. Then download the voiceover.
Step 8: Edit it together in CapCut
Open CapCut, hit Import, and pull in all your clips plus your voiceover.
- Drop the voiceover on the timeline first and trim out every empty gap so it flows clean.
- Line your clips up underneath, second by second, so each one matches what the voice is saying.
- Once it’s synced, layer in your transitions and effects and polish it up.
- Hit Export — your finished video saves straight to your device.
That’s the whole pipeline: idea, script, characters, scenes, animation, voice, edit.
Step 9: The upload (the step most people skip)
A great video with a weak upload still flops. This is what separates a few hundred views from millions:
- Hook the first 1–2 seconds: Open on your strongest visual or boldest line — one of those three hooks from Step 2. Opening-second retention is what tells the algorithm to push your Short.
- Title: Curiosity-driven and specific, readable at a glance. Tease the twist without giving it away.
- Keep the pacing tight: No dead air. Every cut should pull the viewer to the next one — that’s why matching clip durations to the script matters.
- Description + hashtags: A short description with relevant tags (and #shorts) helps surfacing and search.
- Post consistently: This format rewards volume. The channels winning at it upload often — each video is another shot at the algorithm.
Watch your retention graph, see where people drop, and double down on the story types that pop.
You’re ready to make your first one
That’s the entire process — idea, script, characters, scenes, animation, voice, and edit — mostly from a single tool. Run it once and the next video takes a fraction of the time.
The only thing between you and your first upload is the prompt system. Grab it here and start today:
If this helped, share it with someone who’s been wanting to start a faceless channel — and tell me in the comments which story you’re making first.