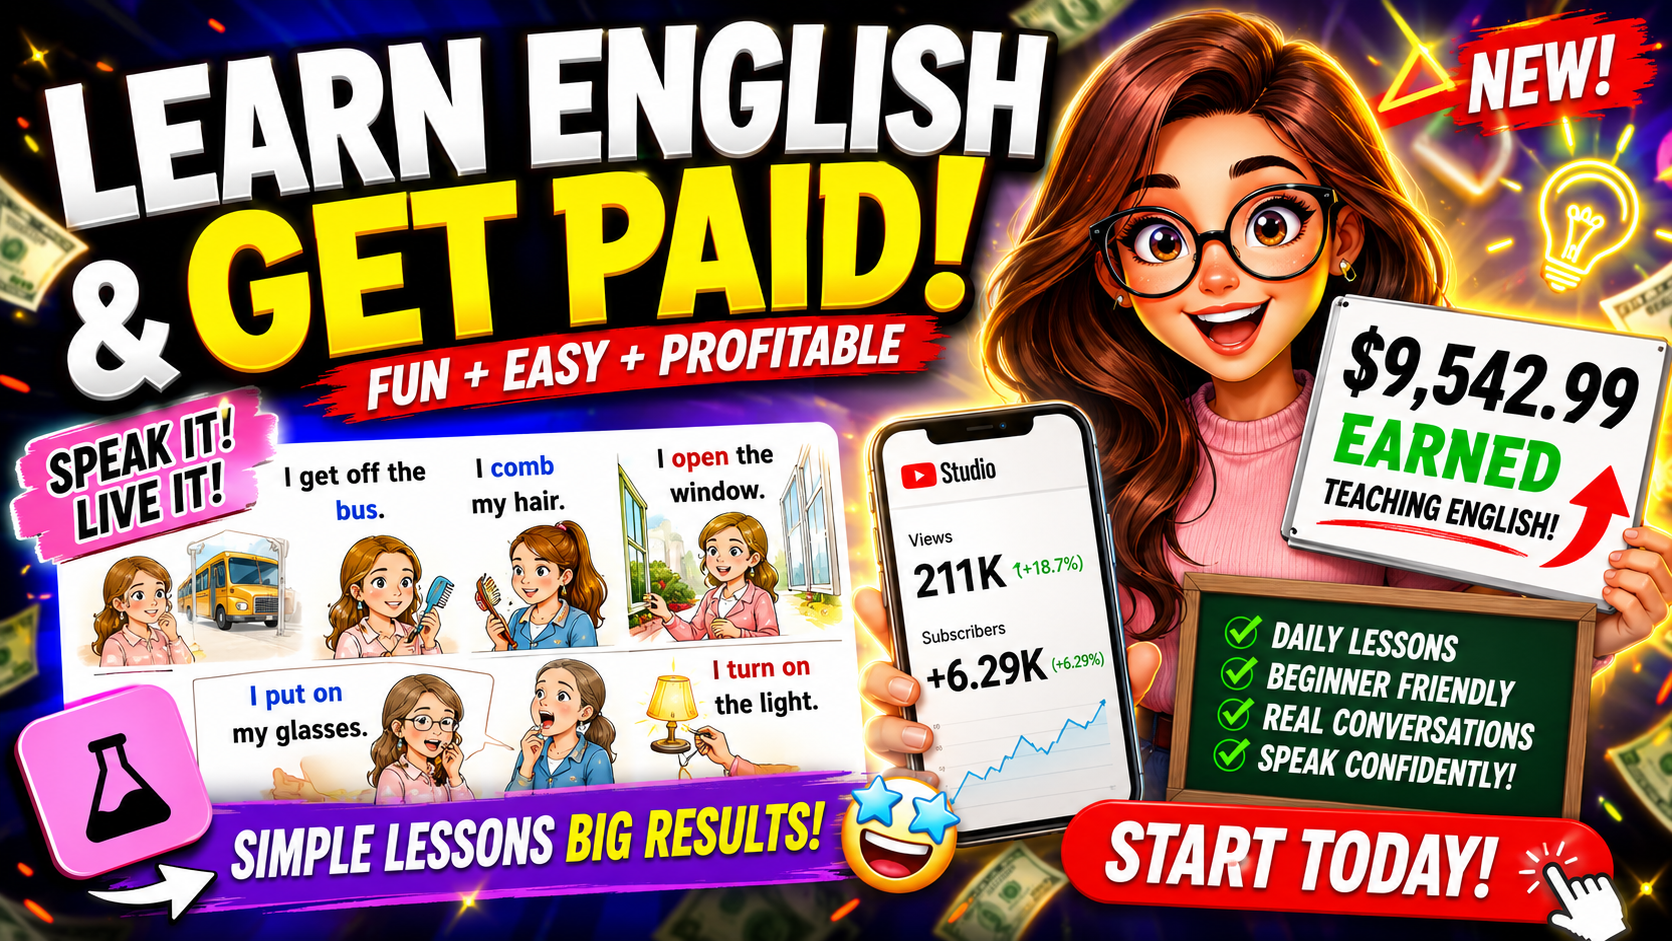
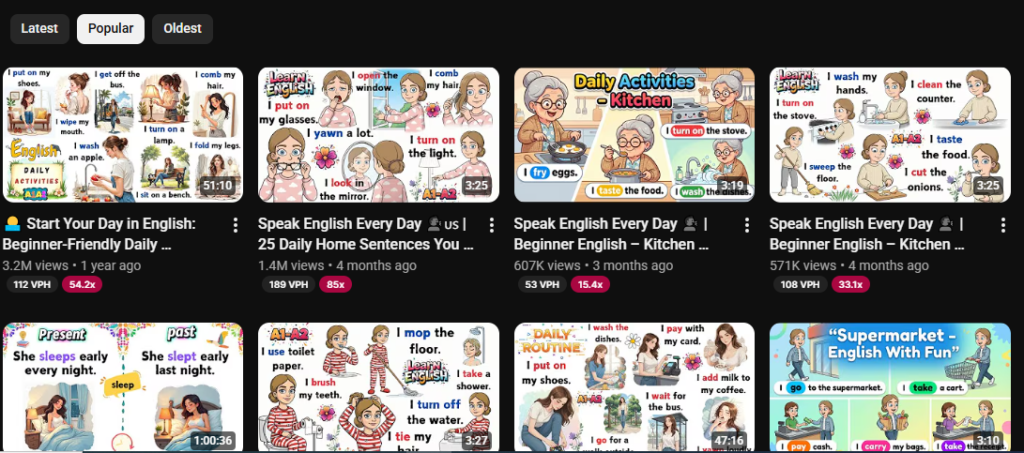
Have you ever searched YouTube and stumbled across simple English learning animation videos getting millions of views? Channels with no face, no expensive equipment, and no team — just clean 3D animation, simple dialogue, and a consistent character. What if I told you that you can build exactly the same kind of channel using completely free AI tools, starting today?
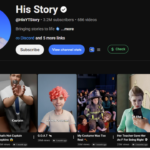
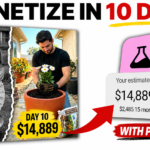
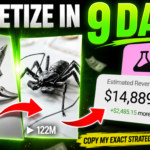
In this guide, I am going to walk you through the exact step-by-step system I use to create these videos. I have studied multiple channels in this niche. One has 160 videos, 470,000 subscribers, and earns $10,000 a month. Another has only 76 videos and 47,000 subscribers and is already fully monetized. These are not big media companies. These are regular people using the same free tools I am about to show you.
By the end of this post, you will know how to find a viral topic, generate a complete script, create a voiceover, produce 3D animation scenes, edit the full video, and upload it with an SEO-optimized title, description, and thumbnail — all without spending a single dollar.
What Is This Niche and Why Is It Blowing Up?
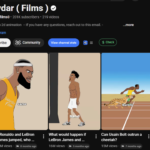
English learning content is one of the most searched categories on YouTube globally. Hundreds of millions of people around the world are actively trying to improve their English every single day. The demand is massive and it never slows down.
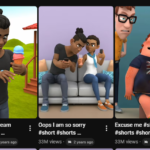
What makes this specific format so powerful is the combination of 3D animation and simple dialogue. Viewers watch the animated character have a real conversation while the English text appears on a whiteboard beside the video. It is visual, it is engaging, and it works for children and adults alike. Best of all, you do not need to speak on camera, hire a voice actor, or know anything about animation. AI handles everything.
What You Need Before You Start
Before jumping into the steps, here is what you will be using throughout this process. Everything listed here is either completely free or has a free tier that is enough to get started.
Claude AI for script generation and thumbnail prompt creation. Fish Audio for voiceover generation. Flow AI for image generation. Meta AI for converting images into video clips. CapCut for video editing. VidIQ for topic research and validation. Remove.bg for background removal. Video Downloader Plus, a free Chrome extension for removing watermarks from Meta AI videos.
You will also need access to the prompt pack at givenprompt.com. This is a Google Doc containing three tabs of pre-built prompts that power the entire system. Tab 1 contains two story generation prompts. Tab 2 contains thumbnail generation prompts. Tab 3 contains a ready-made title, description, and hashtag generator. Everything in this guide is built around those prompts.
Step 1 — Get Your Prompts
Open Prompt Link. This opens the Google Doc with all three tabs. We will be using different tabs at different points in this guide, but for now focus on Tab 1. You will see two prompts. Copy the first one. This is your character and topic generation prompt and it is the starting point for everything.
Step 2 — Generate Your Character and Topic Ideas in Claude AI
Open Claude AI and paste the prompt you just copied. Hit enter. Claude will not immediately give you a script. Instead, it will ask you a series of questions to build your channel character. This is important because the most successful channels in this niche do not use random characters. They pick one character and use it consistently in every single video. That consistency is a big part of what builds their audience.
Claude will ask you the following. First, what type of character do you want — a man, woman, boy, girl, child, or baby. Second, what is the overall appearance style. Third, what hairstyle and skin tone should the character have.
These details are not just for this one video. They get fed into the image generation tool later to keep your character looking identical across every scene and every video you ever make. Pick something simple and memorable. For my channel I went with a teenage boy, blond hair, and light skin.
Once you answer the questions, Claude generates 10 viral topic ideas specifically suited to the English learning niche. These are not random suggestions. The prompt is engineered to give you topics that already have a track record of performing well. Your only job at this stage is to pick the most promising one, which brings us to the next step.
Step 3 — Validate Your Topic with YouTube and VidIQ
This is the step that most YouTube automation channels skip entirely, and it is exactly why they fail. Picking a topic that sounds good is not enough. You need to confirm that real people are actually searching for it before you invest time creating the video.
Take one of Claude’s 10 topic ideas and paste it into the YouTube search bar. Before hitting enter, look at the autocomplete suggestions. If YouTube is already suggesting your exact topic, that is a strong signal that people are searching for it regularly.
Now install VidIQ. It is a Chrome extension that displays search volume and competition data directly on YouTube search results. You can find the link in the description of the video or try it for one dollar using the link at givenprompt.com. Once installed, search your topic and look at two numbers on the right side of your screen. The first is Search Volume, which tells you how many people search for this topic every month. The second is Competition Score, which tells you how hard it is to rank against existing videos.
The filter I use personally is this. If a topic has over 10,000 monthly searches and a competition score under 50, I make the video. If the competition is higher but the top-ranking videos have under 500,000 views, it is still winnable. If the top results are from large established channels with millions of views, I skip it and test the next topic on Claude’s list.
Run through the suggestions until one passes this filter. It usually takes two or three tries, which is exactly why Claude gave you 10 ideas to choose from.
Step 4 — Generate the Full Script in Claude AI
Go back to Claude AI and paste the second prompt from Tab 1 of your Google Doc, along with your validated winning topic. Hit enter and Claude will ask you one question: how many sentences do you want the video to be? The recommendation is between 10 and 30. I always choose 20. That length produces a video that is long enough to qualify for monetization but short enough to keep viewers watching until the end.
Hit generate and Claude gives you two separate outputs. The first is your voiceover script, which is 20 short paragraphs that your narrator will read out loud. The second is 20 scene prompts for image and video generation, which are detailed visual descriptions that get turned into your animation scenes. Keep both outputs. You will use them separately in the steps that follow.
Step 5 — Create Your Voiceover with Fish Audio
Before generating the voice, open Google Docs and paste your voiceover script — the narrator paragraphs only, not the scene prompts. Delete any labels, numbers, or extra formatting that Claude added. You want clean plain sentences with nothing extra. This is what goes into your voice generator.
Now go to Fish Audio. The link is available at givenprompt.com. Sign up for a free account and you receive free credits immediately with no card required. Once inside, click Text to Speech, then click Add Speaker and go to Explore. Fish Audio has hundreds of AI voices available. Since you already defined your character type — in this example a teenage boy — filter by that and preview a few voices until you find one that sounds natural and matches the character you have built. Paste your cleaned voiceover script into the prompt box, click Generate, and download the audio file when it is ready. Your voiceover is complete.
Step 6 — Generate Your Scene Images with Flow AI
Now we take those 20 scene prompts and turn them into actual 3D animation images. Go to Flow AI — Click New Project and go to Settings before generating anything. Change three settings. Set the Aspect Ratio to 9:16 for vertical format. Set the Number of Images to 2 per prompt. Select any available model — the default works well.
Before you start generating, remember that Claude delivers scene prompts in batches of 5. Use the first 5, then go back to Claude and type “next” or “yes” to receive the next batch. Repeat until you have all 20.
For each scene, copy the prompt from Claude and paste it into Flow AI. Hit Generate. While that is processing, copy the next scene prompt so you are always ready to go the moment the previous one finishes.
The reason I generate 2 images per prompt instead of 1 is simple. AI image generation is unpredictable. Sometimes the character looks slightly off, the background does not match the scene, or the overall style drifts from what you want. Having a second image gives you a backup so you are never forced to regenerate from scratch. Once both images are ready for each scene, look at both and keep only the better one.
Step 7 — Download Your Best Images
Click on each image, hit the three dots menu, and download in HD quality. Go through all 20 scenes and download the best image from each pair. If a character looks wrong or the background does not match — discard that one and keep the other.
As you download, name each file in order. Scene 1, Scene 2, Scene 3, and so on. Put them all in one dedicated folder on your desktop. This naming system saves a significant amount of confusion when you are matching images to scene prompts in the next step.
Step 8 — Convert Images to Video with Meta AI
This is the step where still images become actual moving animation clips. Go to Meta AI and click Create. In the prompt box, paste the scene prompt from Claude that matches the image you are about to upload. At the very end of the prompt, add this exact line: Make a video. Now click the plus icon to upload the matching HD image from Flow AI. Hit Generate.
Repeat this process for all 20 scenes. Always make sure the scene prompt and the image you upload are from the same scene. Download each video clip when it is ready.
Every Meta AI video has a watermark by default. Here is how to remove it for free. Add a Chrome extension called Video Downloader Plus from the Chrome Web Store and pin it to your browser. Open the Meta AI video in Chrome, click the extension icon, scroll down, and click the Meta AI MP4 download option. A clean watermark-free version will appear. Download it. Repeat this for all 20 clips.
Step 9 — Create Your Whiteboard Image
Every English learning channel in this niche uses a whiteboard-style image on the left side of the screen. This is where the English text and captions appear during the video. You make it once and reuse it across your entire channel forever.
Go back to your Google Doc and scroll down in Tab 1. You will find a dedicated whiteboard prompt near the bottom. Copy it. Open Flow AI and go to Settings. This time change the Aspect Ratio to 16:9 because the whiteboard is a horizontal element that sits beside your vertical video. Paste the prompt, hit Generate, and download whichever image looks the cleanest and most professional.
Now go to remove.bg, which is completely free with no signup required. Upload your whiteboard image and the background is removed automatically within seconds. Download it as a PNG file. PNG preserves the transparent background which is essential when you overlay it on your video in the editing step.
Step 10 — Edit Everything Together in CapCut
Before you touch the timeline, understand what the finished video looks like. The screen is divided into two halves. On the right side, your 9:16 animated scene videos from Meta AI play. On the left side, your whiteboard PNG sits with the English learning captions displayed on it. Behind everything, a full-screen background image ties both sides together visually. Every editing decision you make is building toward that layout.
Open CapCut and start by importing your voiceover audio, all 20 Meta AI video clips, and your whiteboard PNG.
Drag the voiceover audio onto the timeline first. This is your foundation. Every visual element syncs to this track. Stretch it across the full length of the video.
Next, go to Pinterest and search for a background image that matches the color tone of your scene videos. Download it, import it into CapCut, and drag it onto the timeline above your audio. Stretch it to cover the full video length. In the preview window, resize it until it fills the entire screen with no black edges. Click the background image and use the color grading panel on the right side to adjust the brightness and contrast slightly. This helps your scene videos stand out against the background rather than blending into it.
Once your background image is placed and color graded, right-click on it in the timeline and select Copy. Move your cursor to the point where the background clip ends and press Control+V to paste it. Keep repeating this until the background covers the full length of your voiceover from start to finish.
Now import all 20 Meta AI video clips and place them on the timeline one by one above the background layer. Each clip should line up with the matching section of your voiceover. In the preview window, drag each clip to the right half of the screen and resize it to fit neatly in that space.
Once all your scene clips are placed, import your whiteboard PNG and drag it onto the top layer above everything else. Stretch it across the full video length. In the preview window, drag it to the left half of the screen and resize it to fill that space cleanly.
Now generate your captions. Click the Text button in the left panel, then click Auto Caption and hit Generate. CapCut will transcribe your entire voiceover and create captions for every single line automatically. When they are generated, look at the right panel and browse the available templates. Pick one that is clean and easy to read. Click it and it applies to every caption at once. Drag the captions onto your whiteboard on the left side of the screen. Resize and position them so the text sits cleanly inside the whiteboard frame. Adjust the color if needed so it contrasts well.
For final touches, add stickers from the sticker panel around the whiteboard area to make the video feel lively and engaging, especially for younger audiences. Add simple transitions between each scene clip. A clean cut or a subtle fade works best. Nothing too flashy.
Once everything looks right, click Export and use the highest quality setting available.
Step 11 — Generate Your Thumbnail, Title, Description, and Hashtags
Go back to your Google Doc and open Tab 2. Copy the full thumbnail prompt and paste it into Claude AI. Hit generate and Claude will ask you a few questions about your video. Answer them and Claude will prepare two thumbnail prompts.
Copy the first thumbnail prompt, go to Flow AI, paste it in, and generate. Then copy the second and do the same. Once both sets are generated, right-click on the thumbnails you like, click the three dots, and download in HD quality.
Now open Tab 3 of your Google Doc. Copy the full text and paste it into Claude AI. Claude will ask for your YouTube channel name and a few details about your video. Answer the questions and Claude generates a fully SEO-optimized title, description, and complete hashtag set — ready to copy straight into YouTube Studio.
Upload and Publish
Go to YouTube Studio, upload your finished video, paste in the title, description, and hashtags, add your thumbnail, and publish. That is the complete system from idea to published video using nothing but free AI tools.
Final Thoughts
The channels dominating this niche right now are not doing anything technically complicated. They found a format that works, built a consistent character, validated their topics before creating content, and kept uploading. The tools do the heavy lifting.
What separates channels that grow from channels that stay at zero is not talent or budget. It is process. And now you have the exact process in front of you.
Get your prompt pack at givenprompt.com, follow the steps above, and publish your first video. The niche is growing. The demand is real. The only thing missing is your channel.