Many creators spend months uploading videos to YouTube without gaining traction. Meanwhile, some small channels are generating millions of views with only a handful of uploads.
One channel uploaded just a few videos and gained over 133,000 subscribers. Another video crossed 7.5 million views. Several others reached hundreds of thousands—or even millions—of views within days.
The surprising part?
Most of these creators aren’t filming themselves, aren’t appearing on camera, and aren’t investing thousands of dollars into production.
Instead, they’re using a content format that combines science, history, psychology, storytelling, and AI-powered workflows to produce highly engaging videos at scale.
In this guide, you’ll learn the exact process behind these viral faceless YouTube channels, including how to:
- Find high-performing video topics
- Generate professional scripts with AI
- Create realistic voiceovers
- Generate visuals using AI image tools
- Design eye-catching thumbnails
- Edit videos efficiently
- Optimize titles, descriptions, and hashtags for YouTube SEO
By the end of this guide, you’ll understand how to create an entire faceless YouTube channel using mostly free AI tools.
Step 1: Access the Prompt Framework
The foundation of this workflow is a structured prompt system designed specifically for creating viral science, history, psychology, and storytelling content.

Open the document and make a copy for yourself. This prompt framework isn’t just a collection of random prompts. It’s a complete content creation system designed to help you:
- Discover viral topics
- Generate engaging scripts
- Create visual prompts
- Build thumbnails
- Optimize YouTube metadata
Throughout this guide, we’ll use different prompts from this framework to build an entire video from scratch.
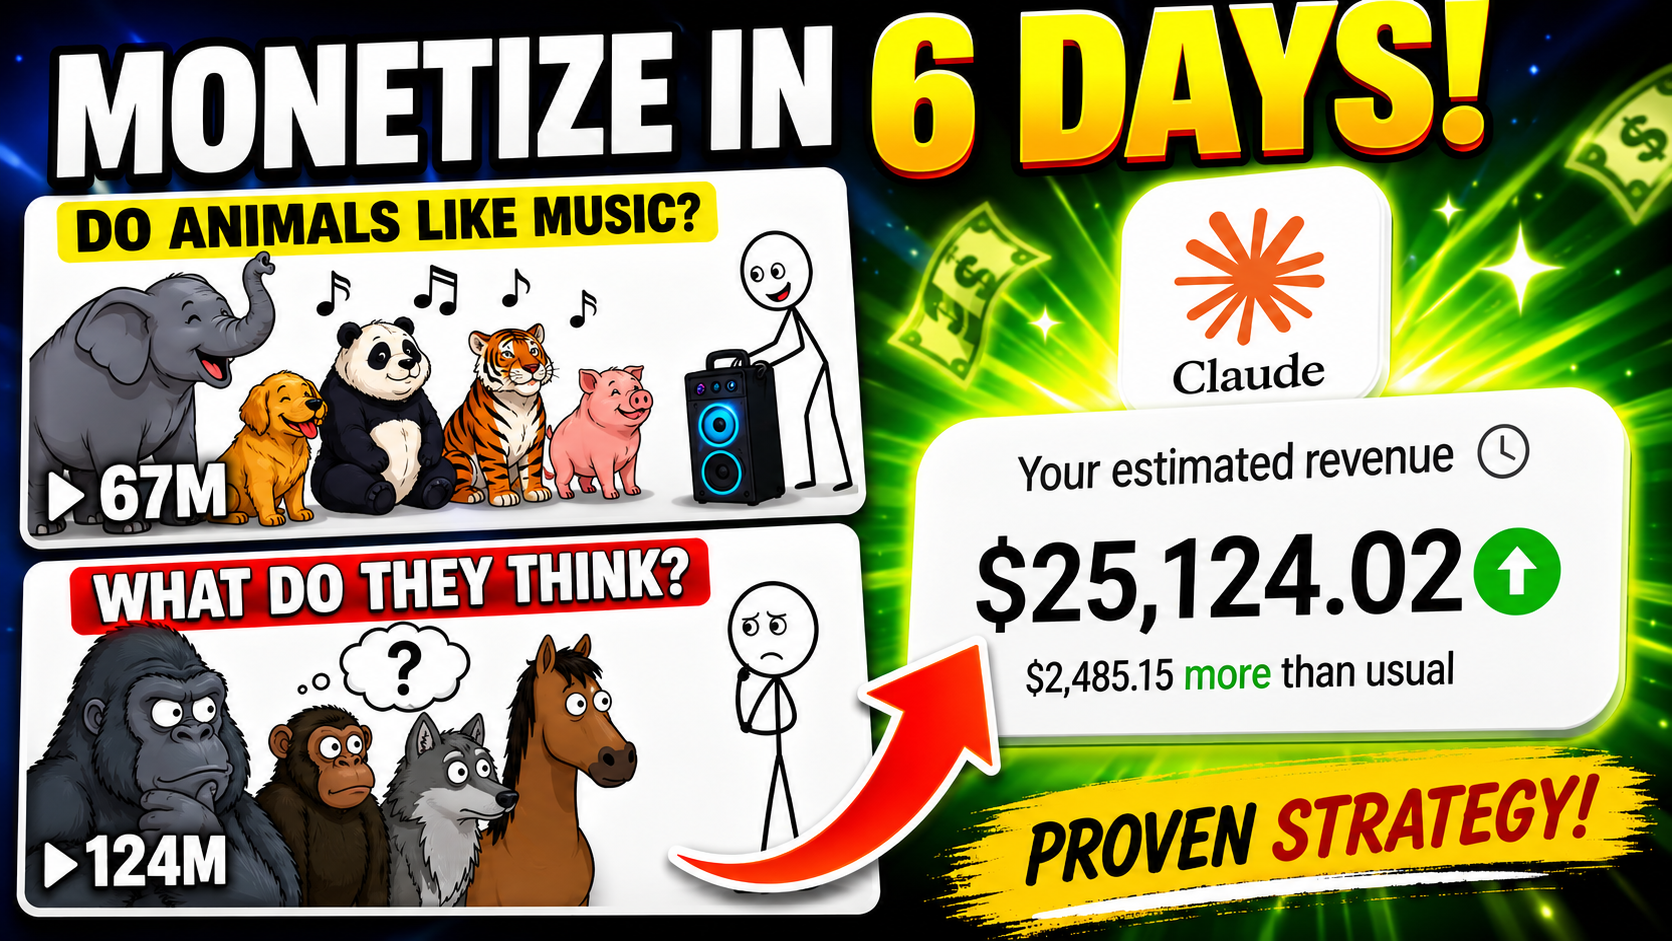
Step 2: Generate Viral Video Ideas
The first step in creating successful content is choosing the right topic.
Inside the prompt document, you’ll find a dedicated prompt designed specifically for generating viral video ideas.
Copy the prompt and paste it into Claude AI.
The free version of Claude works perfectly fine for this process.
After generating, Claude will provide:
- Multiple video ideas
- Virality scores
- Explanations for why each topic could perform well
- Audience interest insights
This removes much of the guesswork involved in content creation.
Instead of wondering what viewers might like, you’re using a framework designed around content formats that are already performing exceptionally well.
If none of the ideas stand out, simply run the prompt again. Each generation will produce a new batch of topics, giving you unlimited opportunities to find strong content ideas.
Step 3: Turn Your Topic into a Complete Script
Once you’ve selected a topic, it’s time to create the script.
Return to the prompt document and locate the Script Writing Prompt.
Copy the entire prompt and paste it into Claude AI.
Before generating, you’ll notice a section where you can specify your target word count.
For example:
- 900 words for shorter videos
- 1,300–1,500 words for standard videos
- 2,000+ words for long-form content
Next, replace the placeholder topic section with your chosen idea.
Once you click Generate, Claude will produce a complete script containing:
- A strong opening hook
- Structured storytelling
- Smooth transitions
- Audience retention techniques
- A compelling conclusion
What normally takes several hours of research and writing can often be completed in minutes.
Step 4: Prepare the Script for Voice Generation
After generating your script, copy it into a Google Document.
Before creating the voiceover, clean the script by removing:
- Headings
- Notes
- Instructions
- Formatting elements
- Timestamps
The final document should contain only the narration that will be spoken.
This ensures cleaner voice generation and fewer editing issues later.
Step 5: Generate an AI Voiceover
Next, create the narration.
A popular option is ElevenLabs, which offers highly realistic AI voices.
Create a free account and open the Speech section.
Rather than pasting your entire script at once, divide it into smaller sections.
This approach provides several advantages:
- Better voice consistency
- Easier corrections
- Faster regeneration of problem sections
- Improved overall quality
For each section:
- Copy a paragraph from your script.
- Paste it into ElevenLabs.
- Choose a voice.
- Generate the audio.
- Review the result.
- Download the file.
Repeat until every section of your script has been converted into audio.
At the end of this process, you’ll have a complete professional-quality narration ready for video production.
Step 6: Generate Visual Prompts from the Script
Now it’s time to create visuals.
Return to the prompt document and locate the Image Generation Prompt.
Copy the entire prompt and paste it into the same Claude conversation where your script was created.
Claude will ask you to provide a section of your script.
Copy the first paragraph and paste it into Claude.
Claude will then analyze the content and generate a detailed image prompt specifically tailored to that scene.
These prompts are designed to match:
- Story context
- Visual atmosphere
- Historical details
- Scientific concepts
- Emotional tone
This allows your visuals to align closely with the narration.
Step 7: Create Images Using AI
Once you have the image prompts, it’s time to generate the visuals.
Several free AI image generators can handle this task effectively.
For example:
- Pippit AI
- Flow AI
- Other image generation platforms
For best results:
- Set the aspect ratio to 16:9
- Use high-quality image models
- Maintain visual consistency across all scenes
Simply paste the prompt into your chosen image generator and click Generate.
Within seconds, you’ll receive a high-quality image based on the scene description.
Download each image and save it in an organized folder.
Step 8: Repeat the Process for Every Scene
Continue working through the script paragraph by paragraph.
For each section:
- Copy the paragraph.
- Paste it into Claude.
- Generate an image prompt.
- Copy the prompt.
- Generate the image.
- Download and organize the file.
Repeat until every portion of the script has corresponding visuals.
This ensures the viewer always has relevant imagery on screen, which improves engagement and watch time.
Step 9: Create a High-CTR Thumbnail
Before editing the video, create the thumbnail.
A thumbnail plays a major role in determining whether viewers click your content.
Inside the prompt document, locate the Thumbnail Generation Prompt.
Paste it into Claude AI.
Claude will generate a thumbnail prompt specifically optimized for:
- Curiosity
- Emotional impact
- Visual contrast
- Click-through rate potential
Take the generated prompt and paste it into your preferred image generator.
Generate multiple versions and choose the most compelling design.
Download your final thumbnail and save it for later upload.
Step 10: Edit the Video in CapCut
With all assets prepared, it’s time to assemble the final video.
Open CapCut and create a new project.
Import:
- Voiceover files
- Generated images
- Thumbnail (optional reference)
Begin by placing the voiceover on the timeline.
The narration becomes the foundation of the entire project.
Next, place the images on the timeline in the same order as the script.
Adjust each image’s duration so it aligns perfectly with the corresponding narration.
As you review the project:
- Replace weak visuals
- Fix timing issues
- Ensure scene transitions match the storytelling
Step 11: Improve Viewer Retention
Once the basic edit is complete, enhance the viewing experience.
Add:
Transitions
Smooth transitions help maintain flow between scenes.
Motion Effects
Simple zooms and pans make static images feel dynamic.
Captions
Captions improve accessibility and increase viewer retention, especially for mobile users watching without sound.
Visual Enhancements
Additional effects can help emphasize important moments and keep viewers engaged.
After making these improvements, watch the entire video from beginning to end and perform a final quality check.
Step 12: Export the Finished Video
When everything looks correct:
- Click Export.
- Choose high-quality settings.
- Render the final video.
You now have a fully completed faceless YouTube video.
But one important step remains.
Step 13: Generate SEO-Optimized Metadata
Many creators spend hours creating videos and then rush through the upload process.
This is a mistake.
Metadata can significantly influence discoverability.
Return to the prompt document and locate the YouTube SEO Prompt.
Paste it into Claude AI.
Because Claude already understands your topic and script, it can generate:
- Click-worthy titles
- SEO-friendly descriptions
- Relevant hashtags
- Search keywords
Within seconds, you’ll have everything needed for publishing.
Final Checklist Before Publishing
Before uploading, make sure you have:
✅ A high-potential topic
✅ A professionally written script
✅ AI-generated voiceover
✅ Matching visuals
✅ An optimized thumbnail
✅ A polished video edit
✅ SEO-friendly title
✅ Description and hashtags
Final Thoughts
Faceless YouTube channels are no longer limited to creators with large budgets, professional equipment, or years of editing experience.
With the combination of Claude AI, voice generation tools, AI image generators, and video editors like CapCut, it’s possible to build a complete content production system that can be repeated again and again.
The real advantage isn’t simply using AI—it’s having a repeatable workflow.
Once you’ve completed your first video using this process, you’ll be able to create future videos significantly faster, allowing you to focus on testing ideas, publishing consistently, and growing your channel.
The creators generating millions of views with small channels aren’t necessarily working harder than everyone else. In many cases, they’re simply following a system.
Now you have that system too.